Exploring the Art of Boiling Glass
Glass has always been a captivating medium for artists to express their creativity and craftsmanship. One technique that has gained popularity is boiling glass in a kiln. This unique method allows artists to create mesmerizing patterns and textures that add depth and character to their glass art.
Understanding the Boiling Glass Technique
Boiling glass involves heating glass in a kiln to a temperature where it becomes soft/liquid and moves. This process requires careful control of temperature and timing to achieve the desired effects.
Materials and Equipment
To begin my journey into boiling glass, my kiln has limitations in how high the temperature can go 1700F. So my first attempt at boiling glass, I took it to 1470, the recommended temperature for the dam mold I used.
Preparing the Glass
Before placing the glass in the kiln, it’s crucial to clean it thoroughly to remove any dirt or marker writings that may cause devitrification. Once cleaned, you can add techniques such as layering different colors and sizes of glass, frit, stringers, lace, etc.to create depth and visual interest in your artwork.
Boiling Process
Once the glass is prepared and placed in the kiln within a dammed area, the magic begins. You will need a firing schedule that works with your kiln. It will be different from a full-fuse and will depend on the size of the piece including depth. The hold time will be increased to achieve more movement of the glass.
Cooling and Finishing
After the desired effects are achieved, the glass is slowly cooled to prevent cracking or stress fractures. This process, known as annealing, ensures the glass retains its strength and durability. Once cooled, the glass artwork can be further refined through processes like grinding, polishing, or even additional kiln firings.
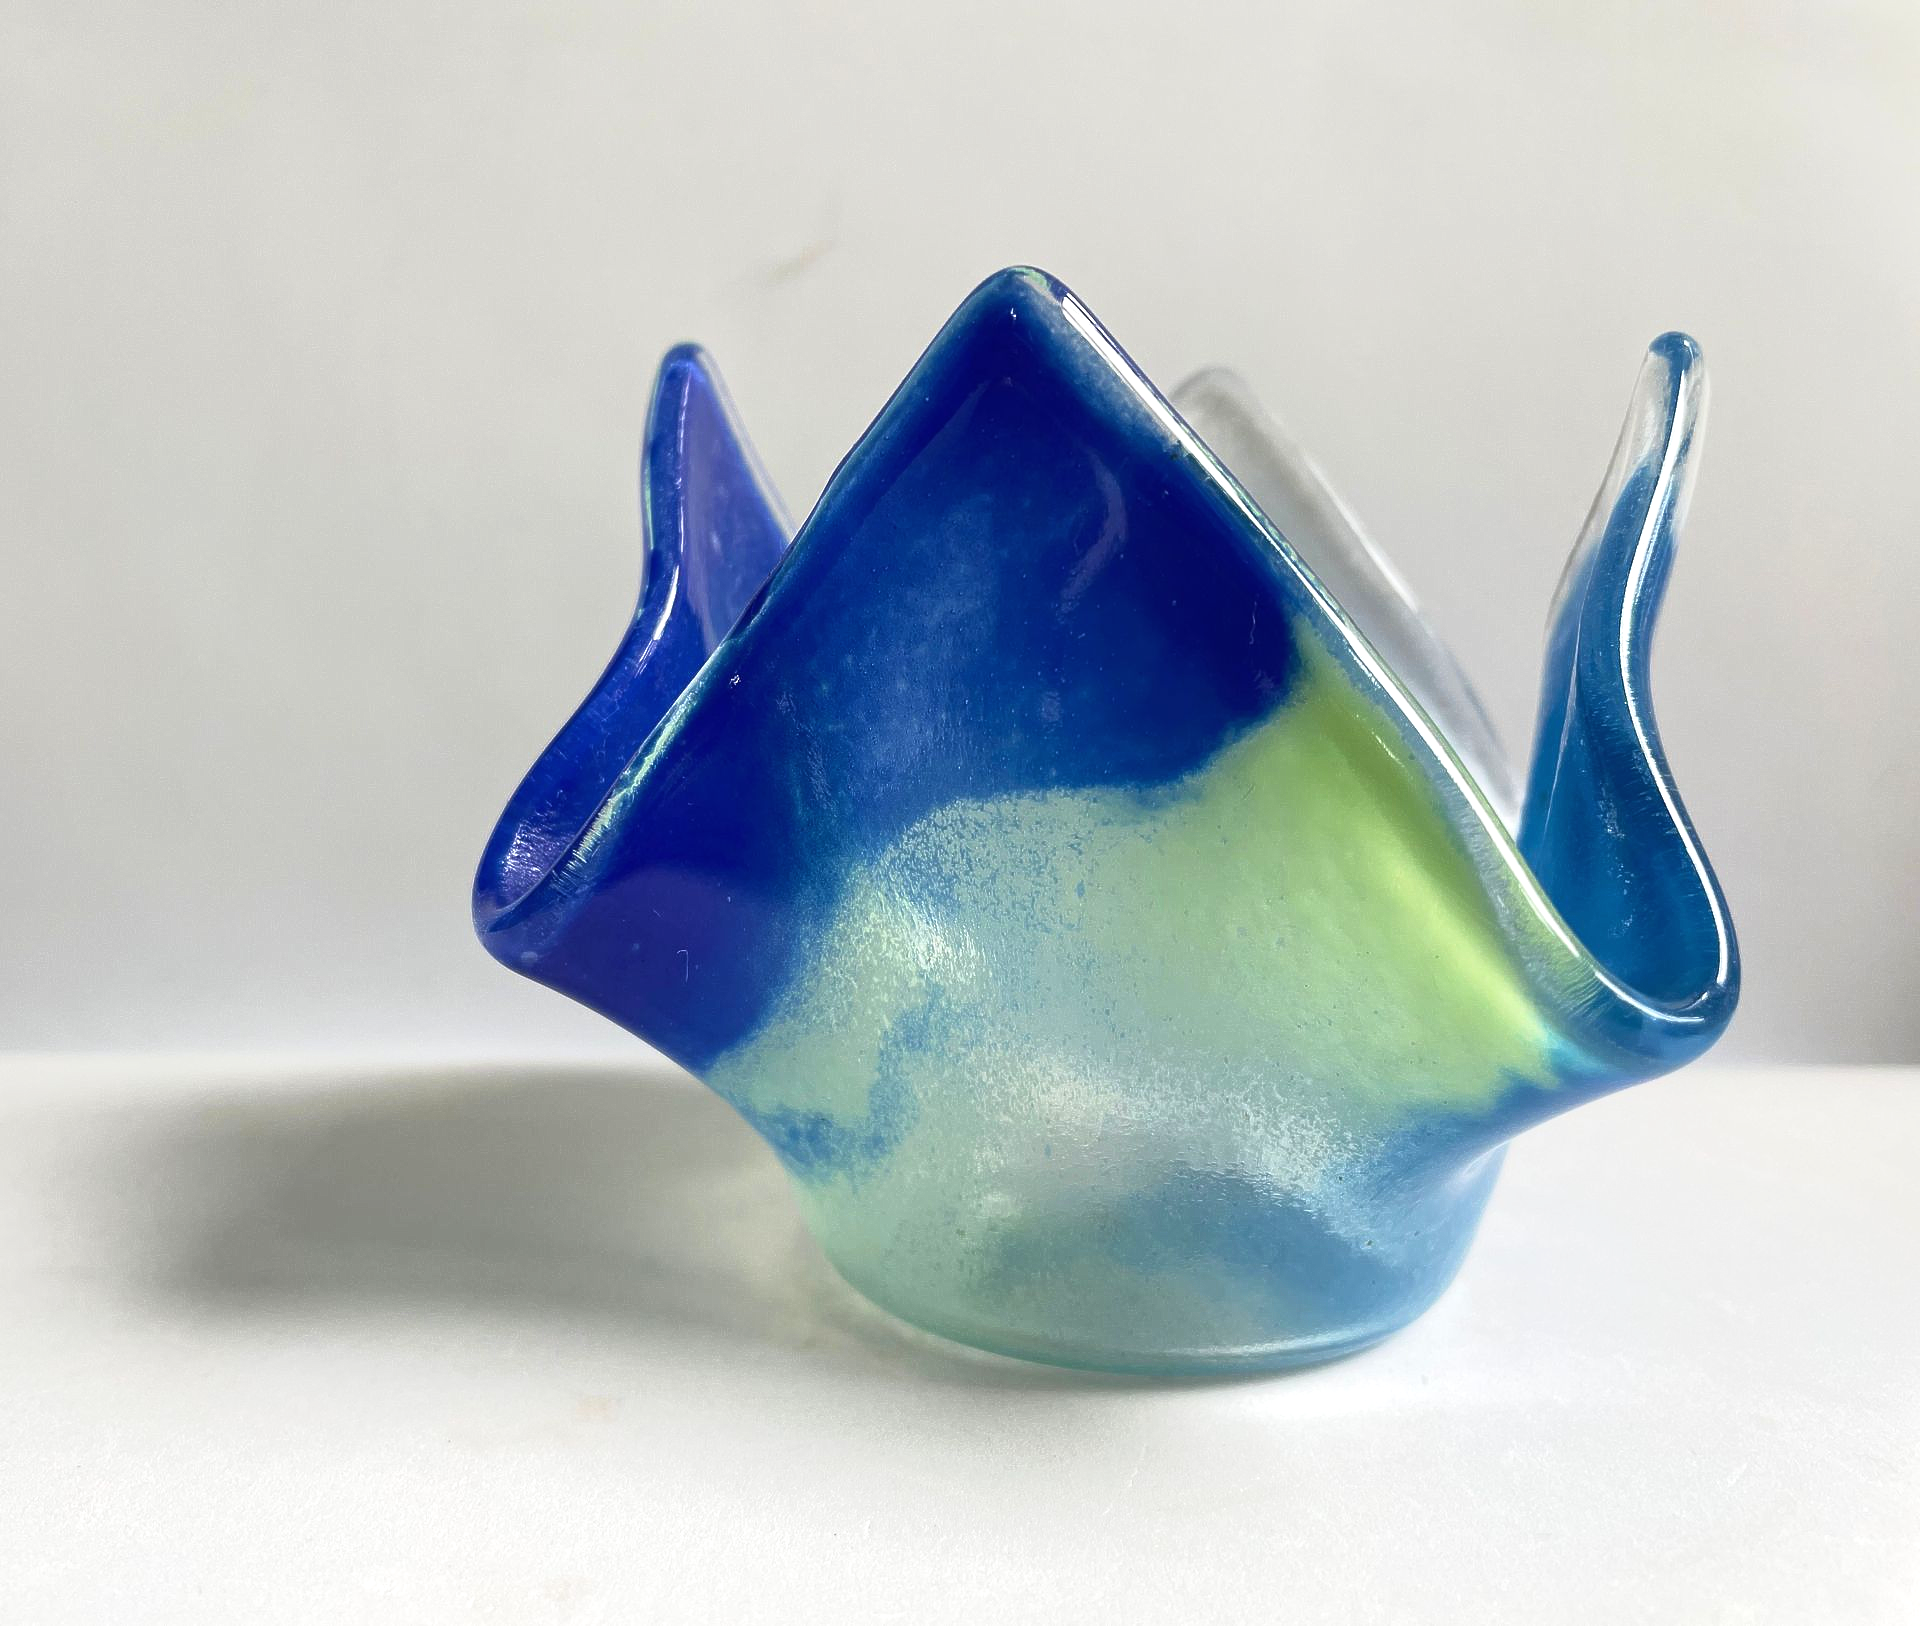
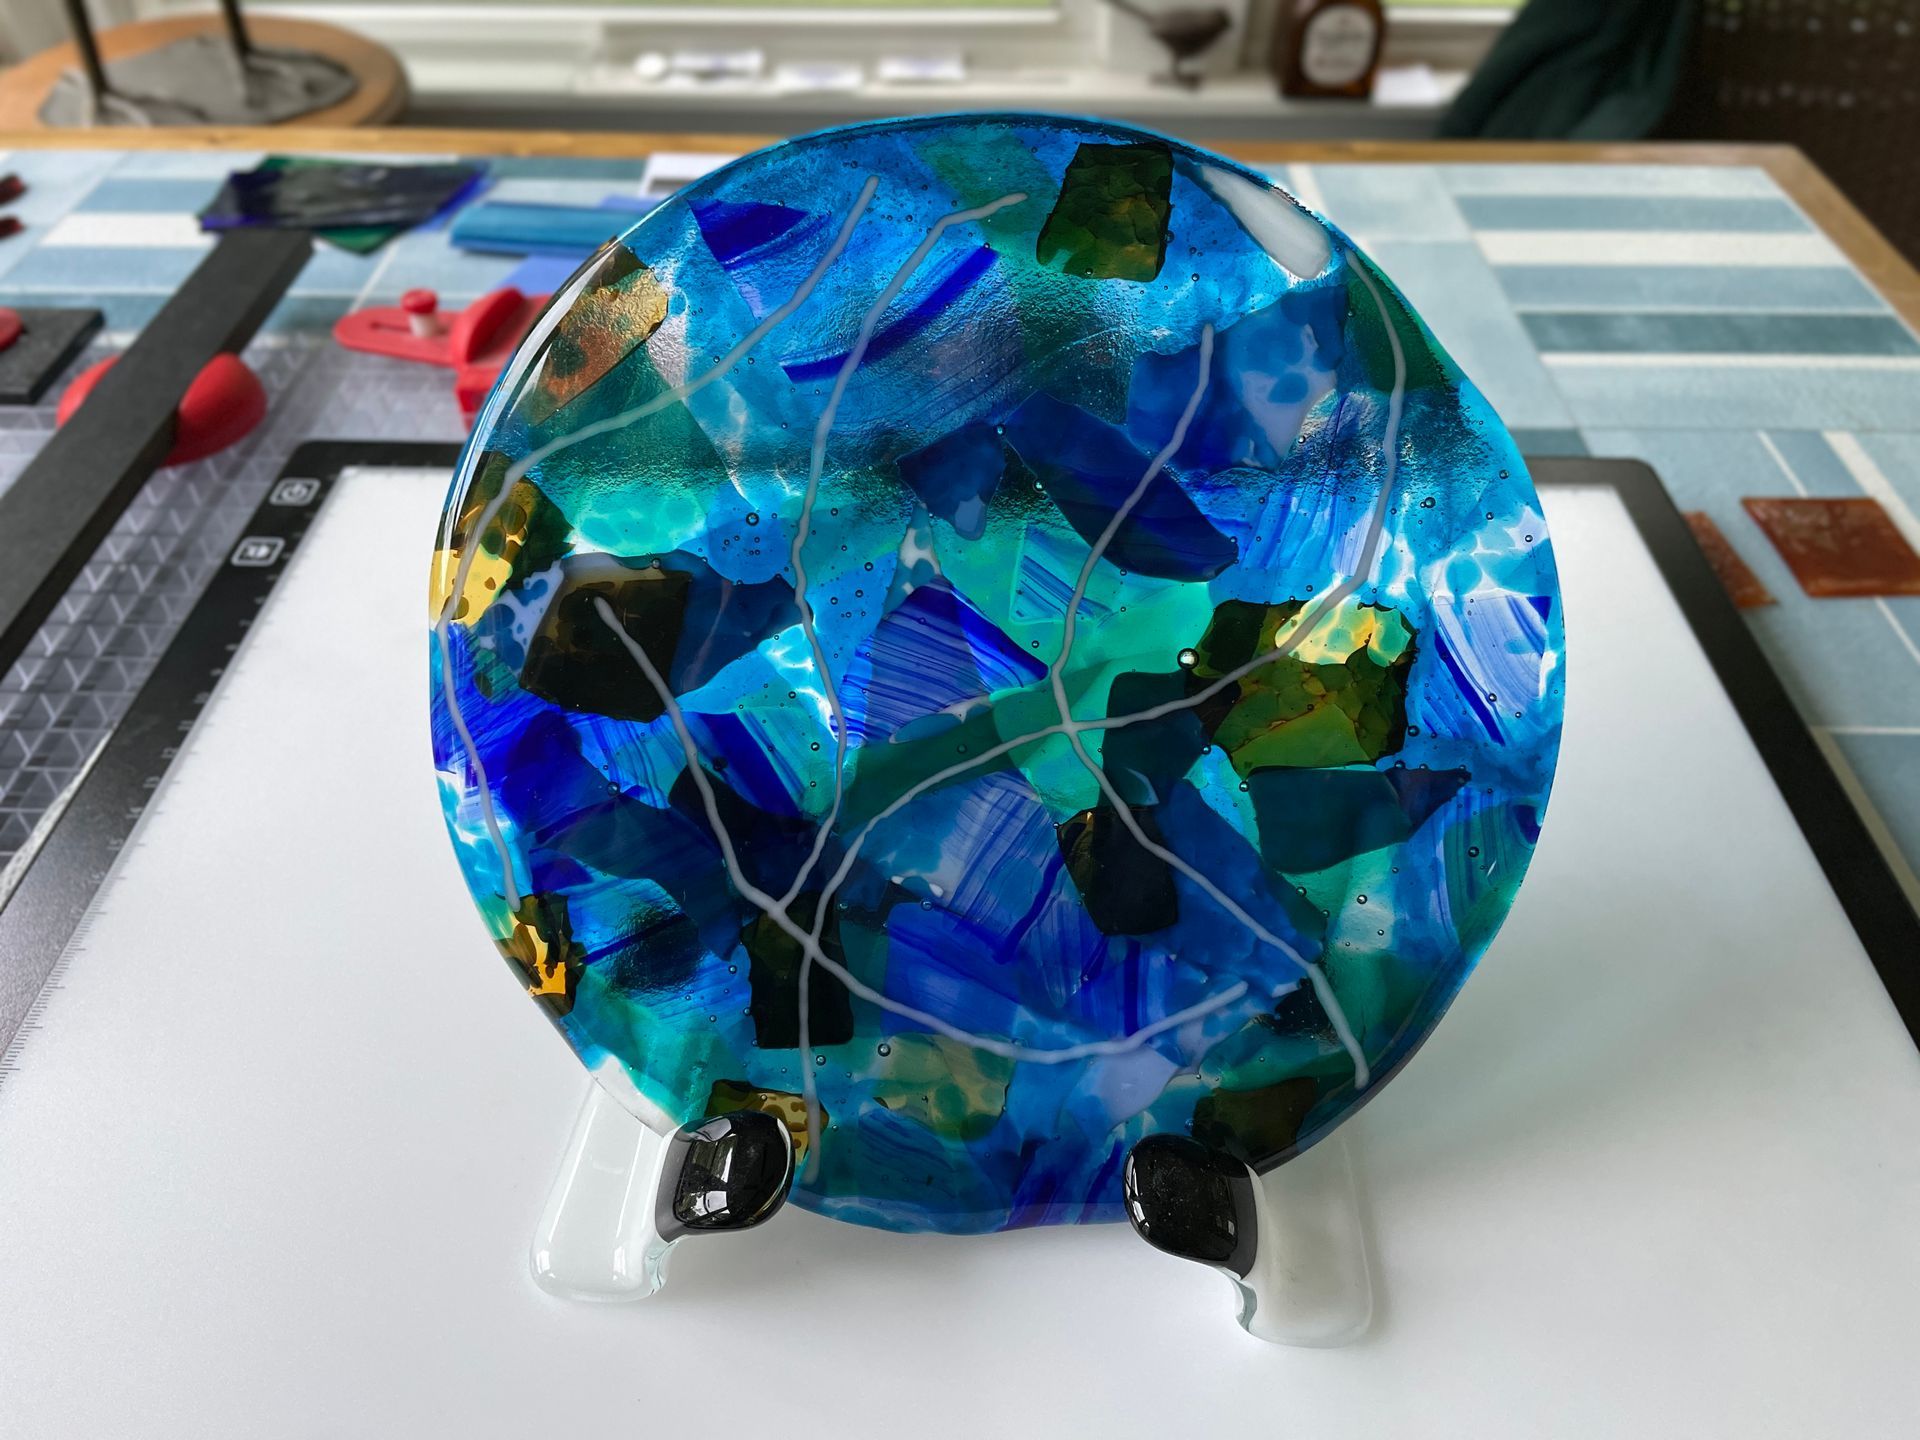
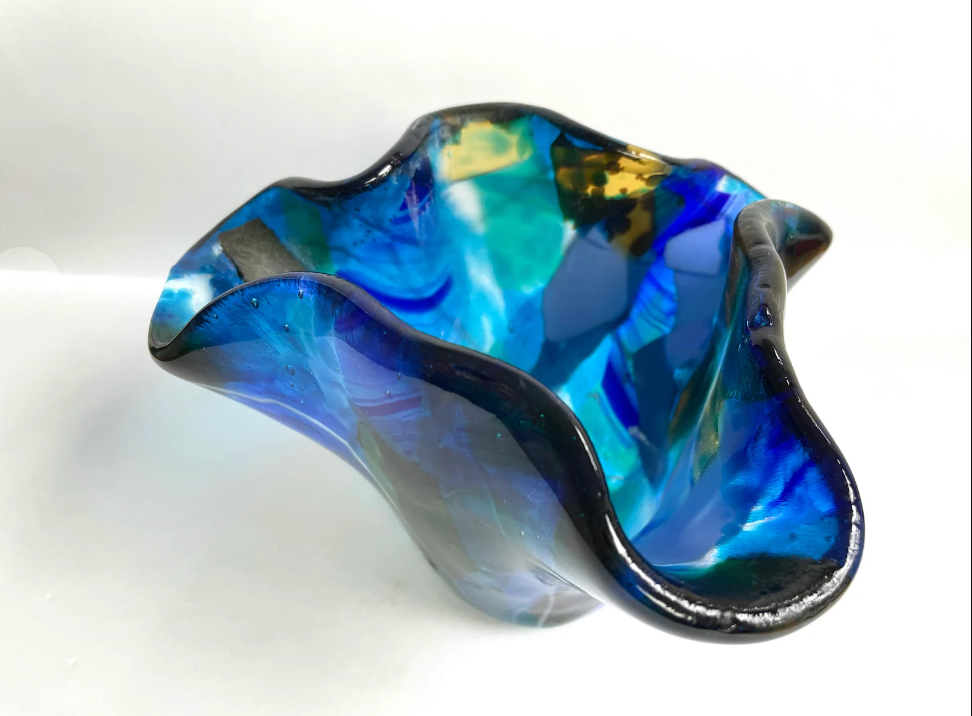
I used a round dam mold to hold the broken glass and frit. After fusing, I cleaned the glass again and draped the glass over another mold creating a vessel.
My next attempt at boiling glass will include taking the kiln up to 1650 degrees. I won't use a mold but place the glass on the shelf and create a dam to contain the glass movement. I am nervous about pushing it to the kiln's maximum temperature so I won't go to 1700. The thicker the glass, the higher the temperature you will need. I can't replicate this piece but I can break the glass the same way and see how more heat affects the glass .... fewer defined edges, more movement of the glass, etc.
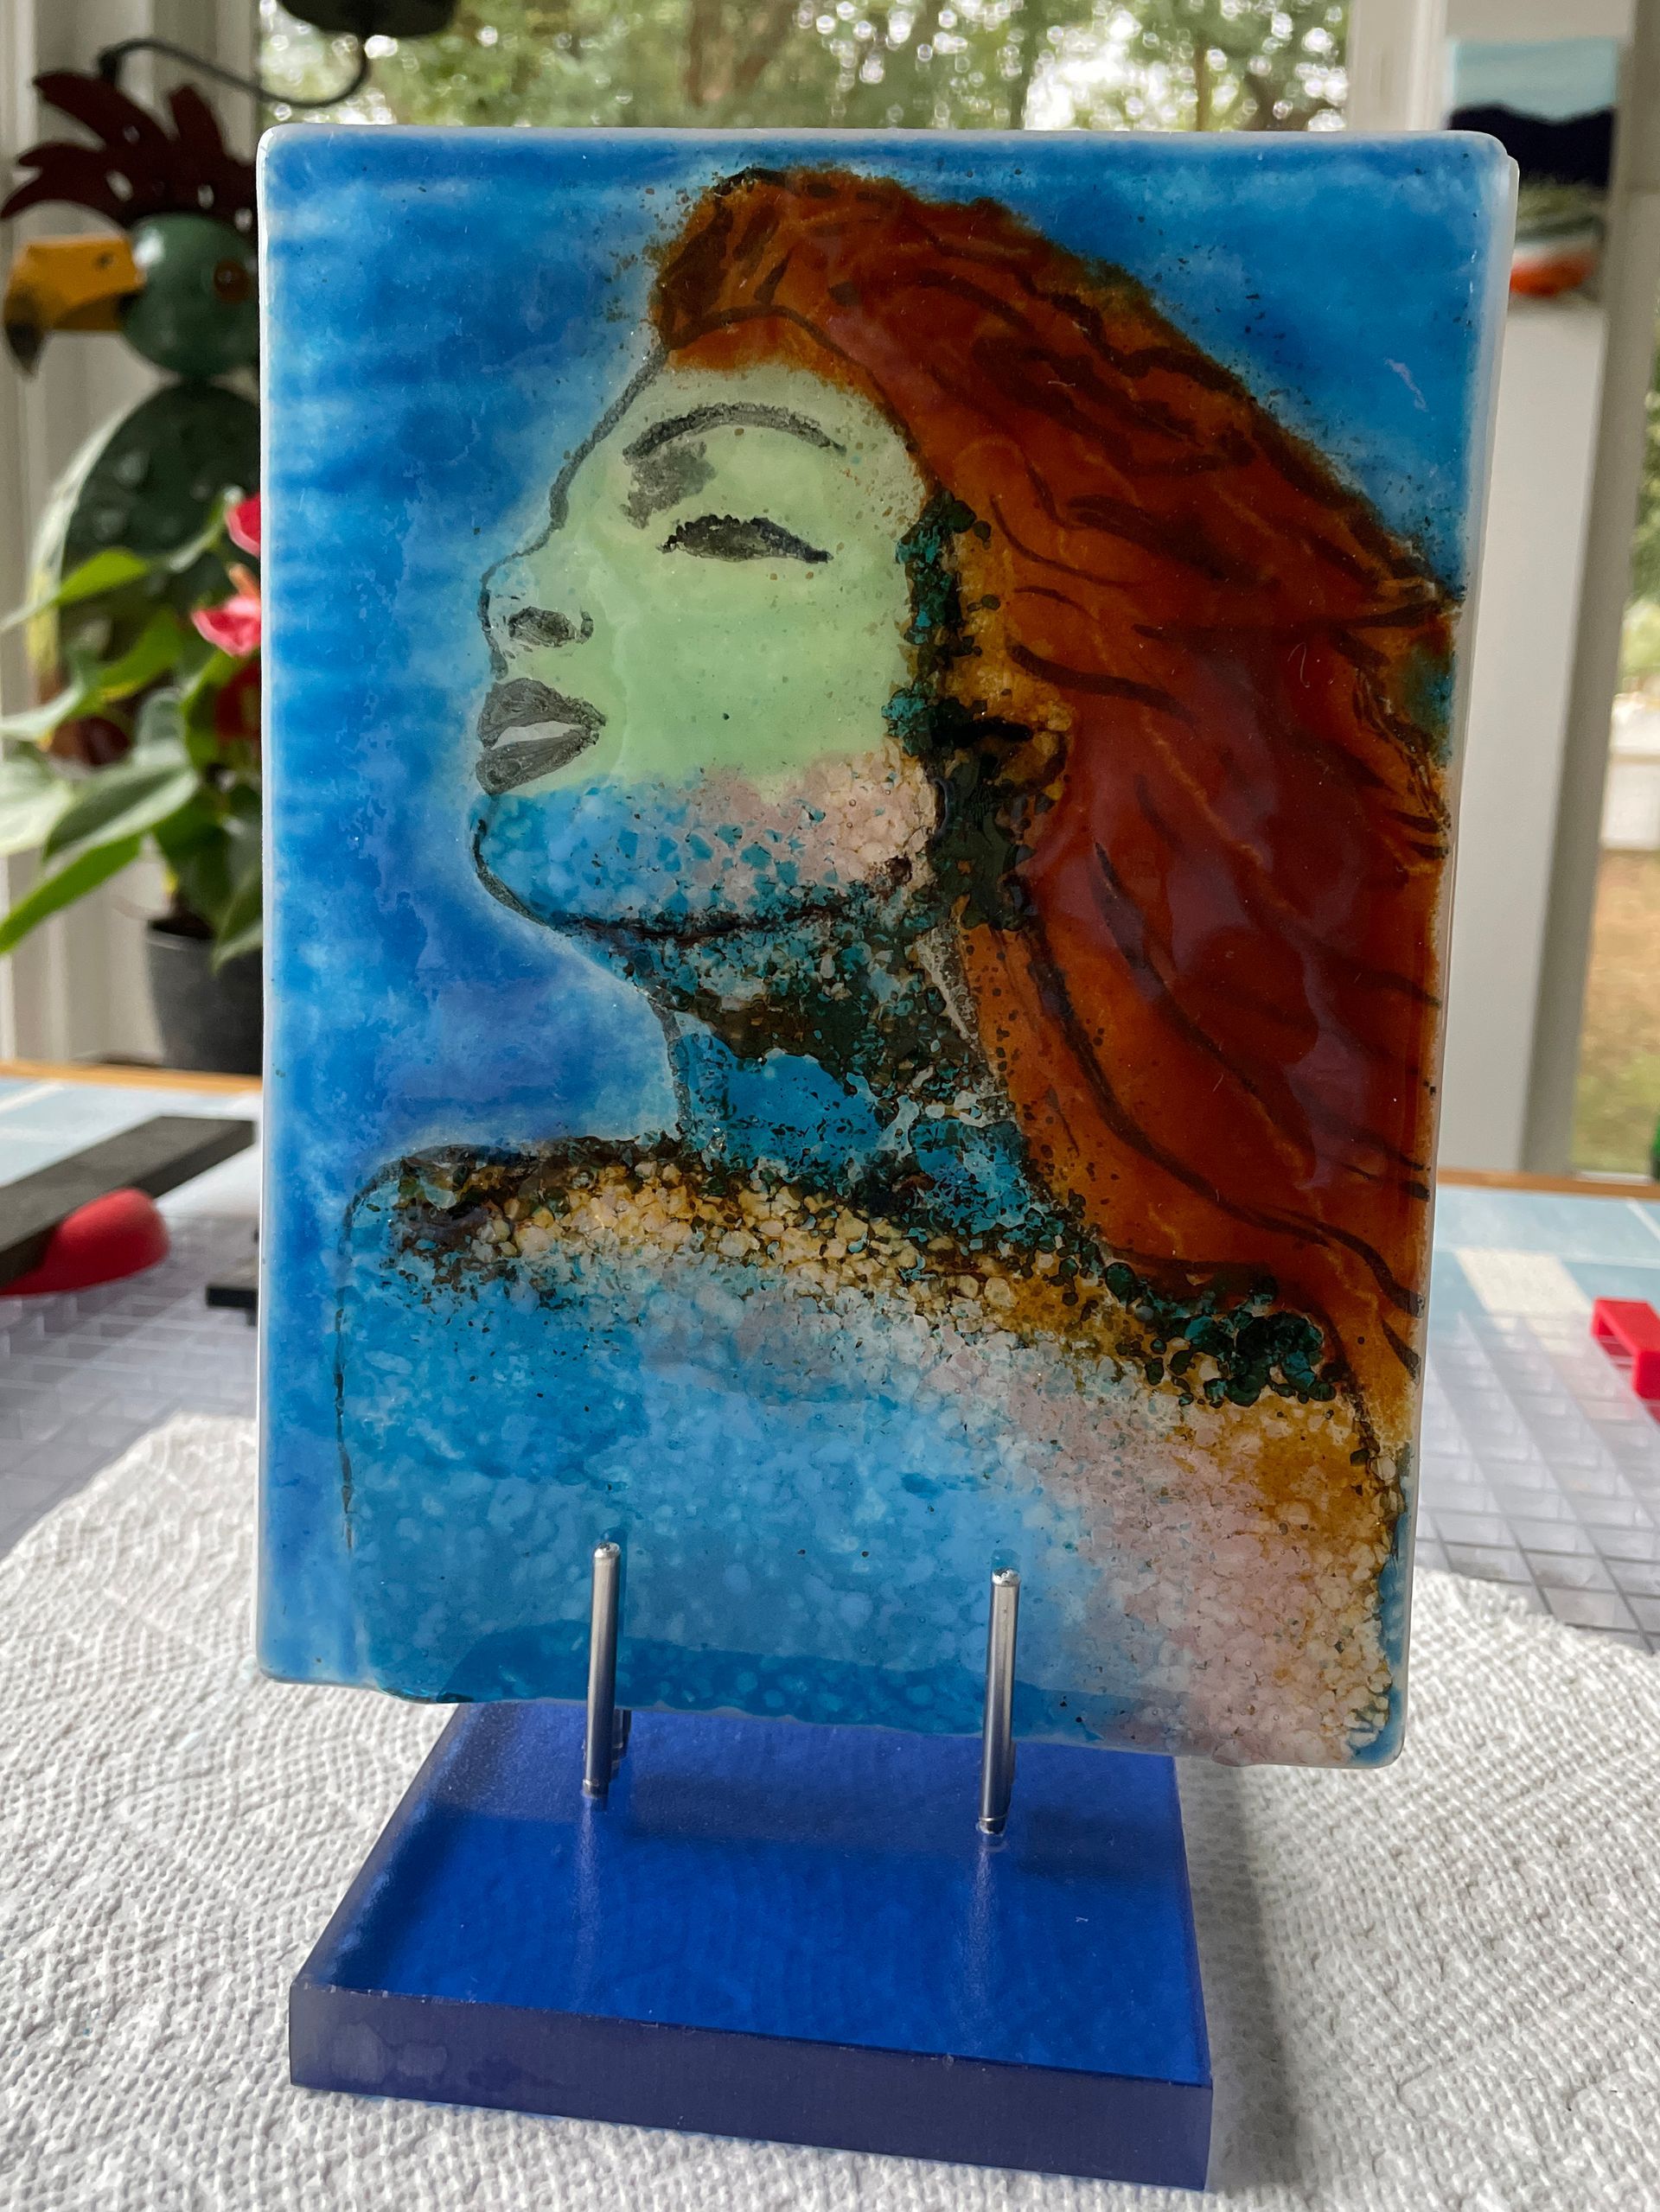
Second Attempt at Boiling Glass
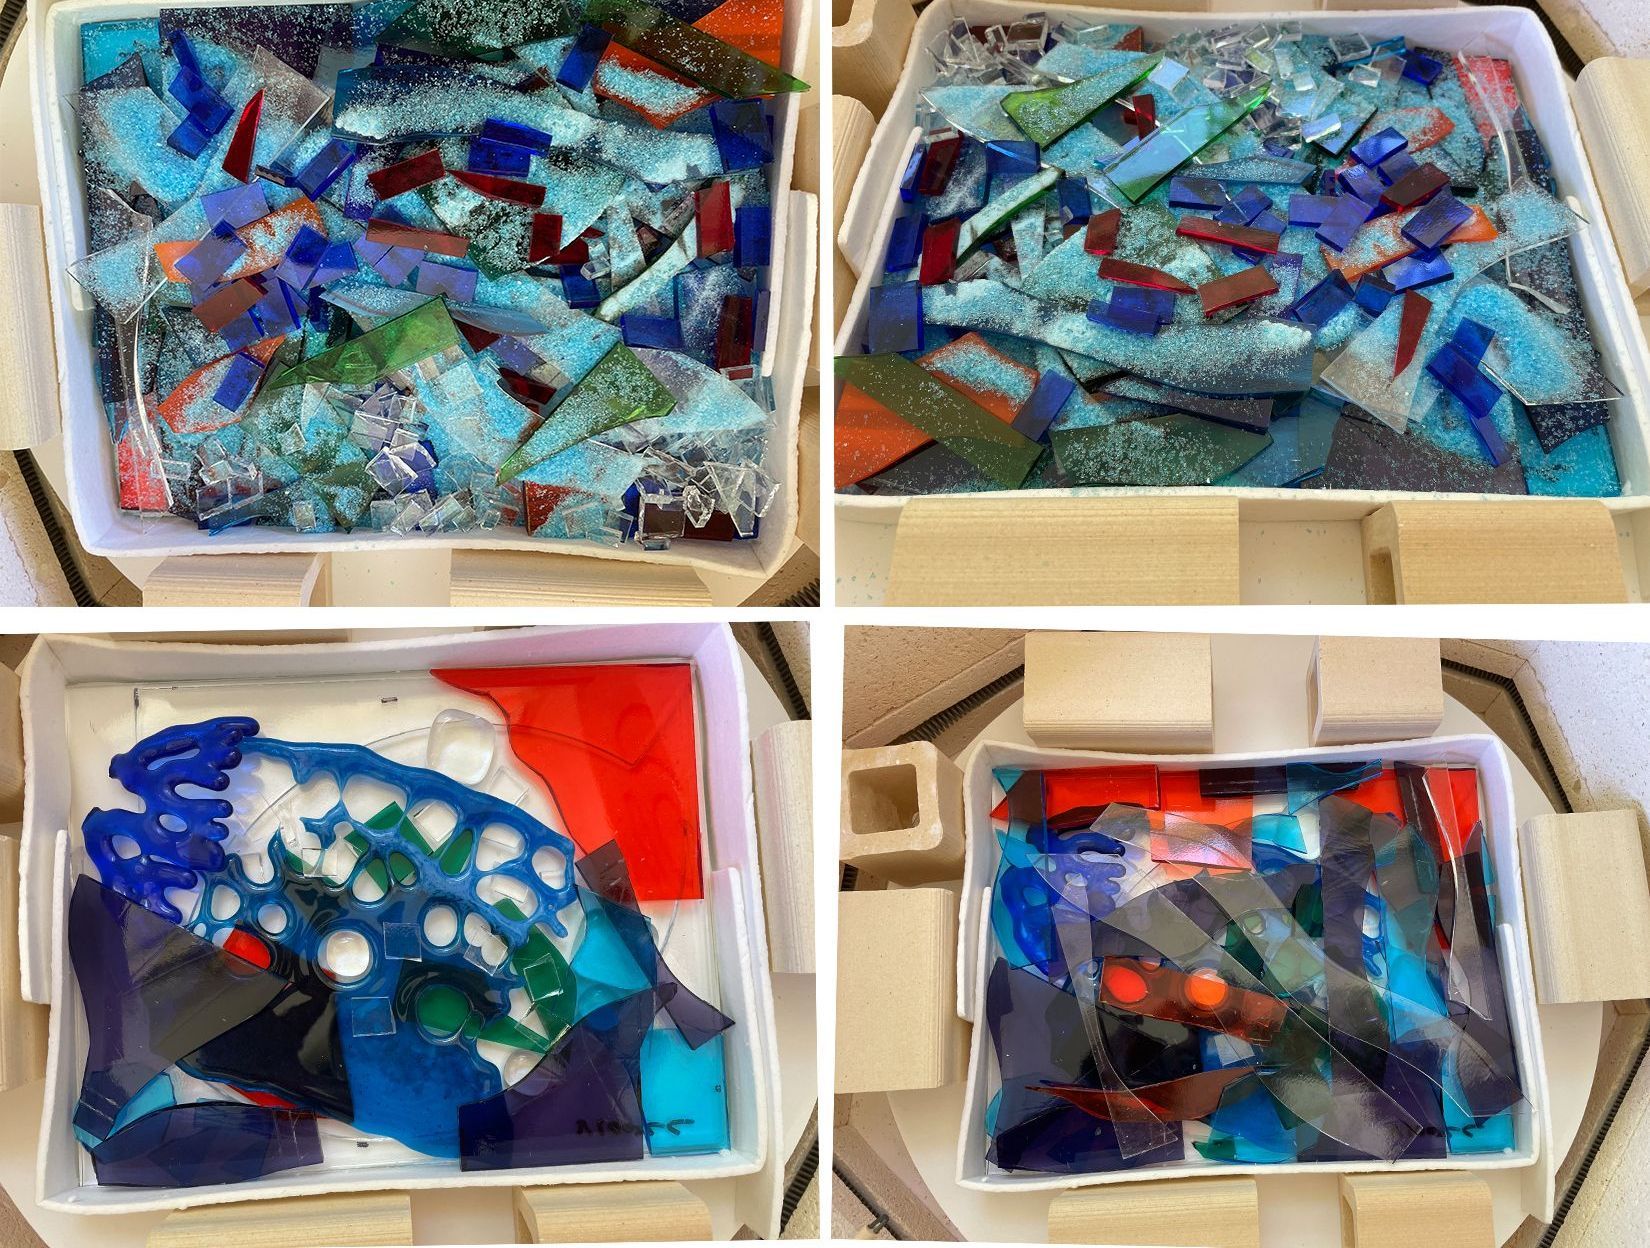
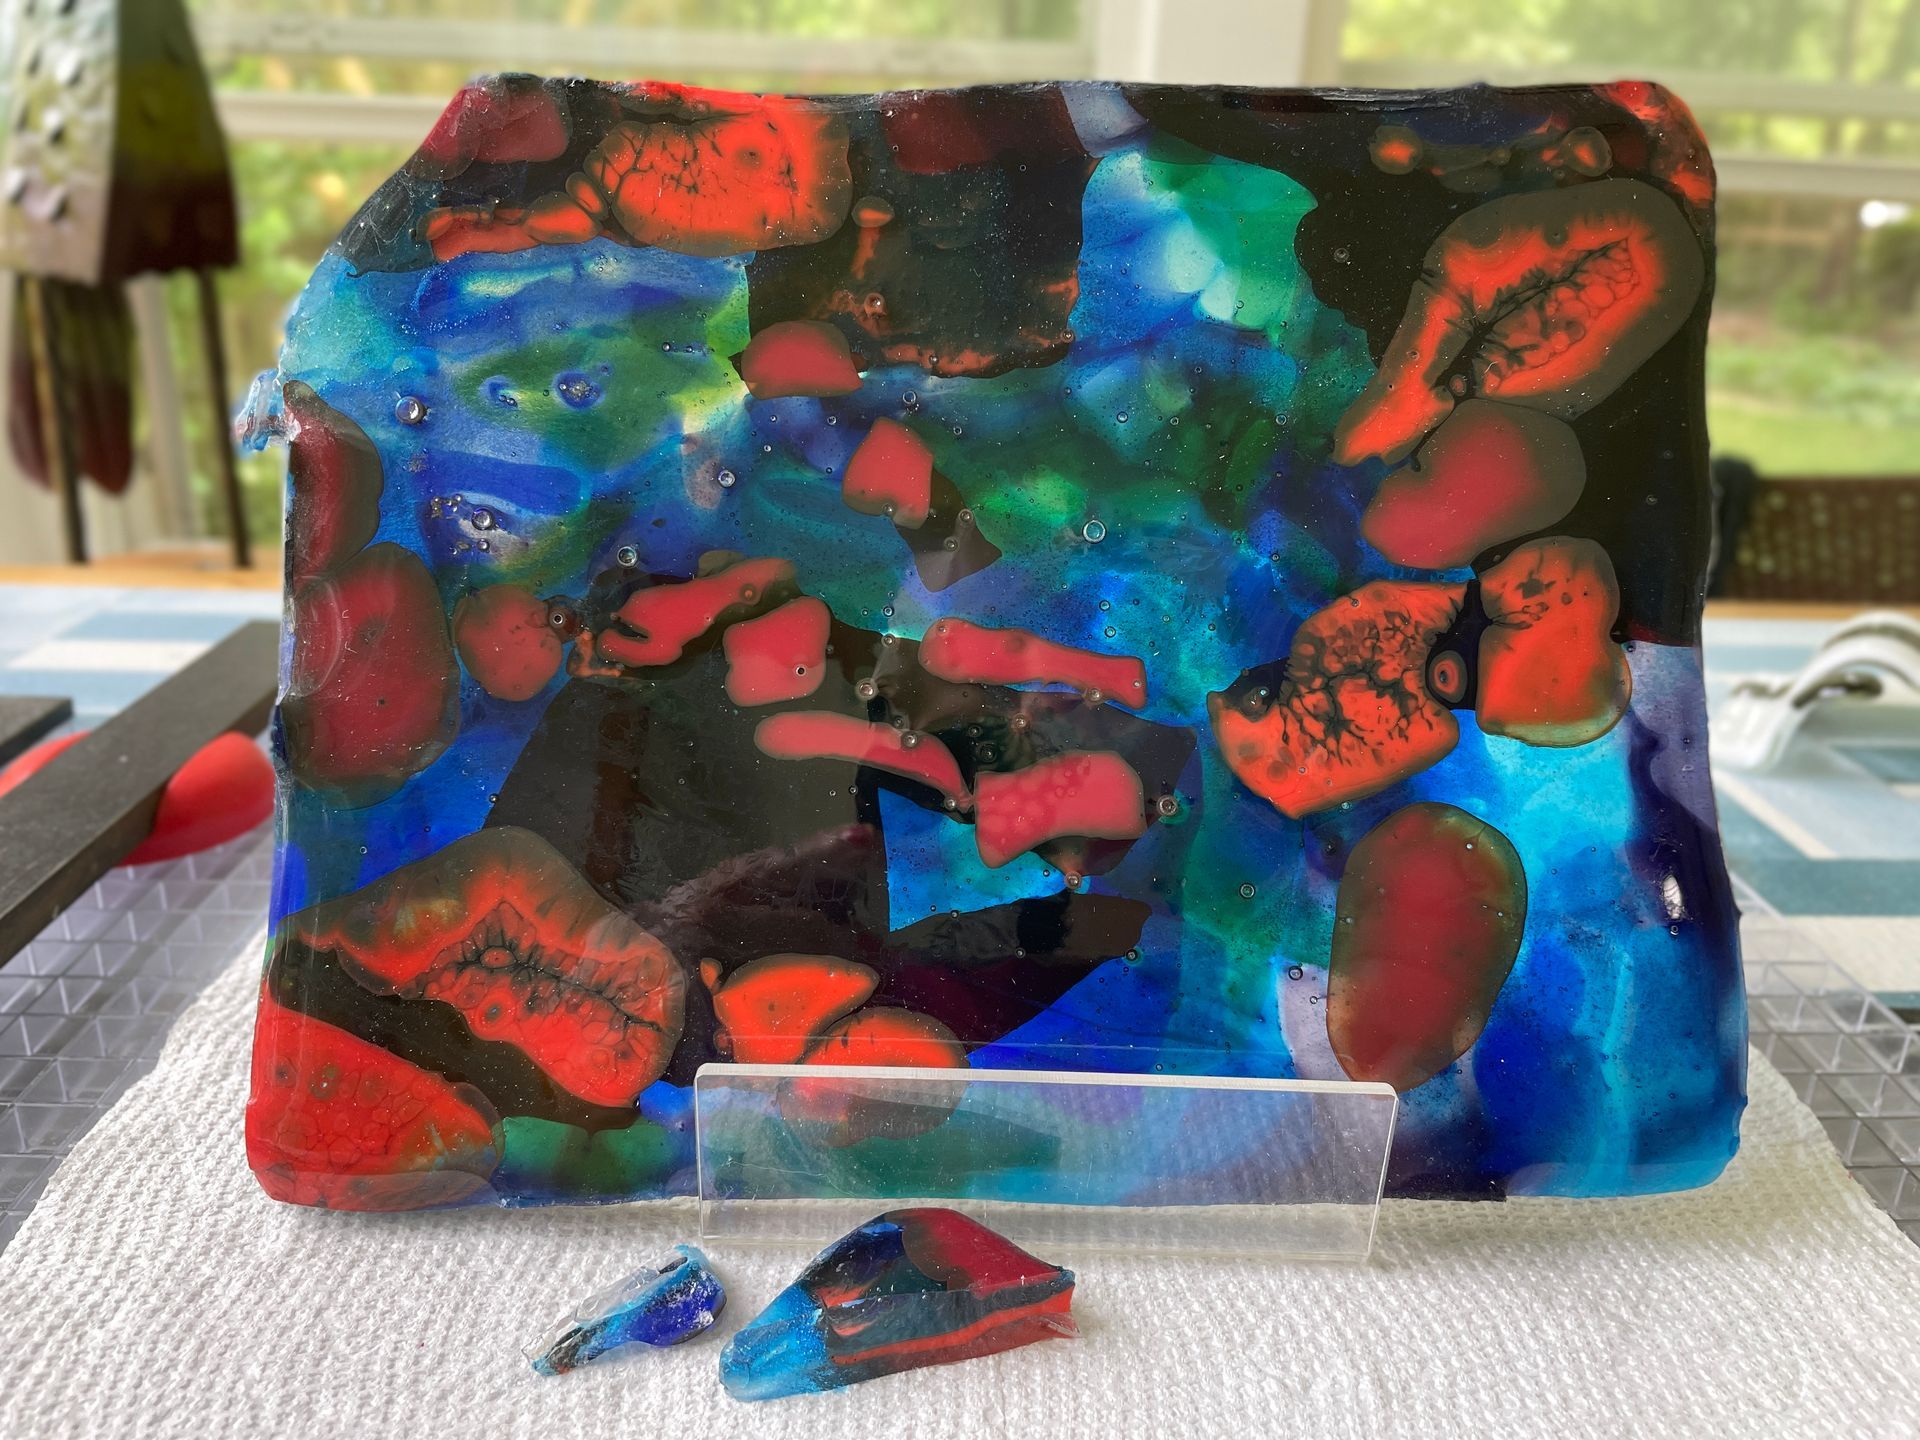
Here is my second attempt at boiling glass. I used many layers, and colors - some reactive, lace, frit, powders, etc. to see how they would affect the movement of glass, patterns, and colors. Adding reactive glass to the mix resulted in some interesting spidering effects. I placed overlapping fiber paper around the glass and used ceramic furniture (blocks) to create a dam. However, a small amount of glass flowed beyond the dam and wedged between two blocks ... see the broken corner and pieces of glass in the photo to the right. The maximum fusing temperature was 1650 degrees. This slab measures 7"x 9"x .5" thick and weighs approximately 3 pounds. The next test will be to use fewer colors and only transparent glass.
Glass Oasis Articles